Lab-2-3
(2% of the course mark)
Database Design Lab
- This lab covers database design principles using Entity-Relationship Diagrams (ERDs) and Normalization techniques. It introduces the fundamentals of data modeling, relationship mapping, and normalization to ensure an efficient, consistent, and scalable database structure. MySQL Workbench and SQL scripts are used to implement the logical database design.
Lab objectives
-
Design ERDs to visually represent entities, attributes, and relationships.
-
Apply normalization to eliminate redundancy and maintain data integrity.
-
Convert ERD models into relational schema.
-
Implement relational schema via MySQL Workbench and SQL scripts.
-
Identify and resolve anomalies in database design.
-
Optimize database structure for performance and maintainability.
- Ensure that Docker Desktop is installed and that a MySQL image and container are configured and running properly. These activities are covered in Lab 2-1.
Database design scenario
-
Design a database schema for a library app where patrons can borrow and return books. Keep track of the number of books on hand as well as those that have been borrowed and patrons can only borrow one copy of the same book at a time.
-
Define the entities, attributes, and relationships required to support the scenario described above.
Start MySQL container
-
Open Docker Desktop and click on Containers.
-
Locate mysql-container and start it by clicking the triangle icon under the Actions column.
- Ensure the mysql-container is running successfully before proceeding to the next step.
Connect and create schema
-
Open MySQL Workbench and click mysql-container connection to connect to the Docker MySQL db server.
-
Click on File > New Model.
-
On the Physical Schemas section click on the plus icon + to create a schema.

- Set the Name as library_db.
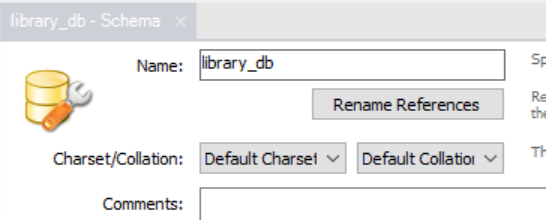
- Close the tab to finish.
Create tables
- Ensure that you are on the library_db schema tab.
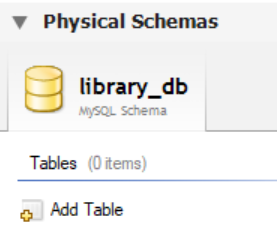
Create the parent table before the child table, as failing to do so will result in extra steps when adding the referenced table and column.
- Based on the entities, attributes, and relationships defined previously, create them by clicking Add Table. Enter the column names, and choose the datatypes and constraints.
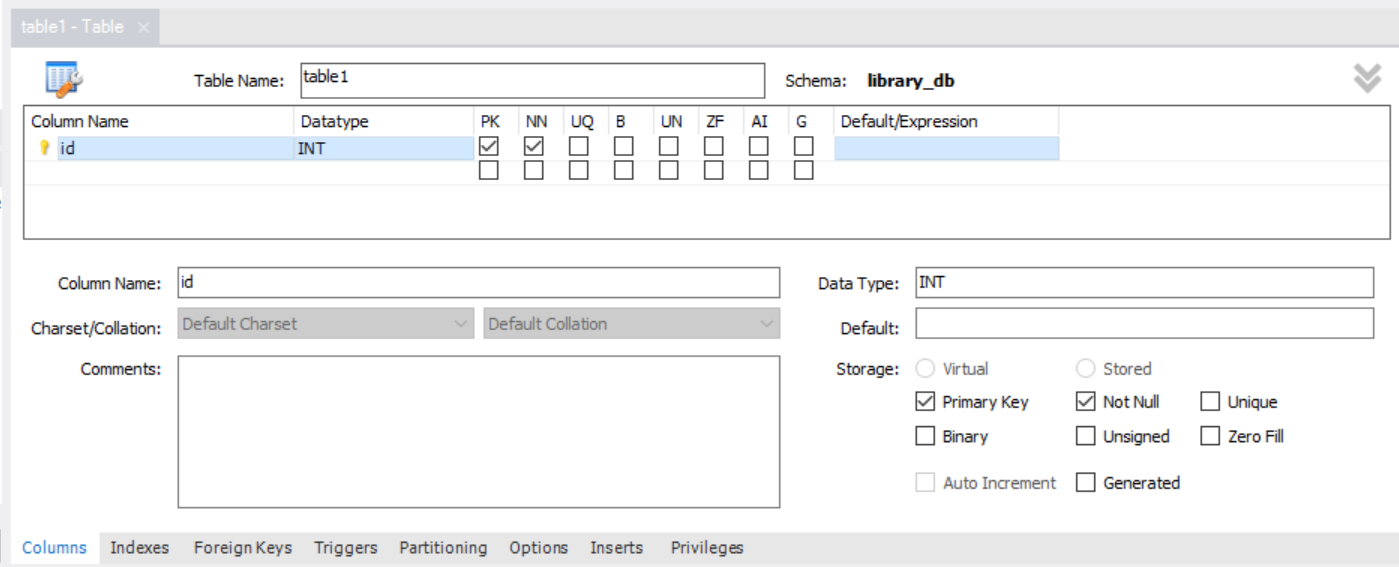
- If an entity has a relationship with another entity, it can be set by clicking the Foreign Keys tab. Ensure that the Foreign Key Name is unique, choose the correct Referenced Table, and select the corresponding Column and Referenced Column.

- Repeat the previous steps until all the entities, attributes, and relationships are created.
Create DB object via Forward Engineering
-
Click on Database > Forward Engineer.
-
Click on Next.
-
If presented with a choice to select schemas, ensure that library_db is selected. Click on Next.
-
Click on Next.
-
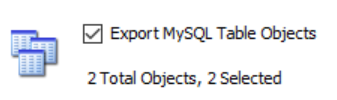
Ensure that the selected values match the number of entities / tables created.
-
The next screen will provides a way to review the script. Create the schema by clicking on Save to File... and save it as library_db.sql. Click on Next.
-
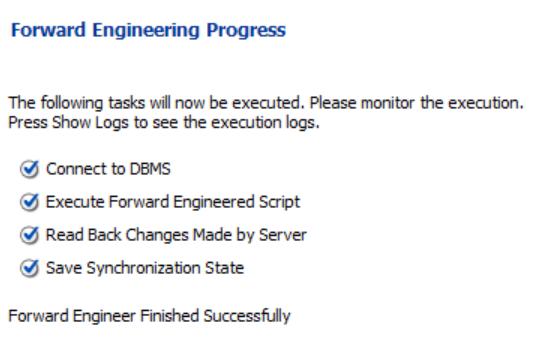
The next screen should show a confirmation that the schema has been created. If there are errors, take note of them and go back to the table definitions.
Create ERD via Reverse Engineering
-
Click on Database > Reverse Engineer.
-
Click on Next.
-
Click on Next.
-
If presented with a choice to select schemas, ensure that library_db is selected. Click on Next.
-
Click on Next.
-
Click on Execute.
-
Click on Next.
-
Click on Finish.
-
The resulting page should be an ERD diagram. Drag the tables around and arrange them in a way that the relationships are visible.
-
Save this diagram as a PNG image by clicking on File > Export > Export as PNG... and save it as library_db.png.
Submission
-
Create a folder named submit.
-
Copy library_db.sql and library_db.png to the submit folder.
-
Create a zip file of the submit folder.
-
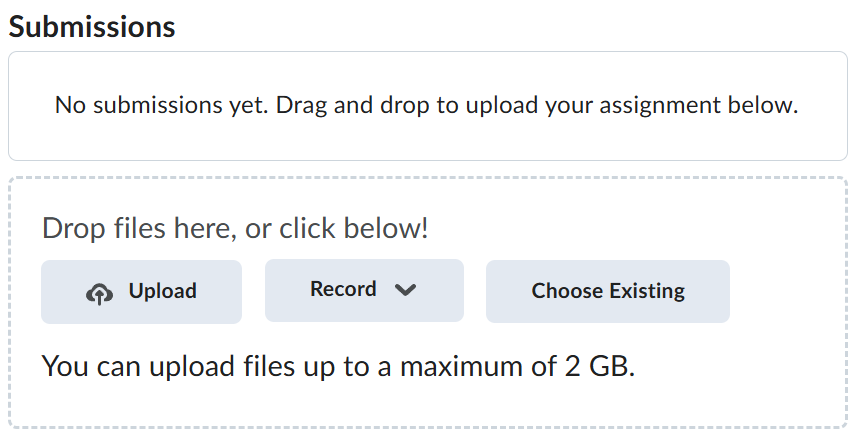
Navigate back to where the lab was originally downloaded, there should be a Submissions section (see below) where the zip file can be uploaded.