Lab-2-1
(2% of the course mark)
Docker Setup Lab
- This lab guides students through the installation and configuration of Docker on their development machines. Participants will learn how to set up Docker, understand its basic components, and configure it for use in their projects. The lab includes practical exercises to create, manage, and deploy containers, providing hands-on experience with Docker's capabilities.
Lab objectives
-
Install Docker on their local development environments.
-
Understand and configure Docker settings and preferences.
-
Create and run Docker containers.
-
Manage Docker images and containers.
- To get a Docker image, simply run this command directly in your terminal:
docker pull <image-name>
Download Docker images
- Download the MySQL Docker image by entering the following command:
docker pull mysql
- Download the MongoDB Docker image by entering the following command:
docker pull mongo
Create Docker containers
- Create the MySQL container by entering the following command:
docker run --name=mysql-container -e MYSQL_ROOT_PASSWORD=password -p 3306:3306 -d mysql
Command line items explanation
docker run
- This is the Docker command to create and start a new container.
--name=mysql-container
-
This option names the container mysql-container.
-
Naming containers makes it easier to manage and reference them later.
-e MYSQL_ROOT_PASSWORD=password
-
The -e flag sets an environment variable inside the container.
-
It sets the MYSQL_ROOT_PASSWORD environment variable to password.
-
This environment variable is used by the MySQL image to set the root user's password.
-p 3306:3306
-
This option maps port 3306 on the host machine to port 3306 on the container.
-
Port 3306 is the default port for MySQL.
-
The first 3306 is the port on the host, and the second 3306 is the port inside the container.
-
This mapping allows access to MySQL running inside the container from the host machine.
-d
- This option runs the container in detached mode, which means it runs in the background.
mysql
- This is the name of the image.
- Create the MongoDB container by entering the following command:
docker run --name=mongodb-container -e MONGO_INITDB_ROOT_USERNAME=root -e MONGO_INITDB_ROOT_PASSWORD=password -p 27017:27017 -d mongo
Command line items explanation
docker run
- This is the Docker command to create and start a new container.
--name=mongodb-container
-
This option names the container mongodb-container.
-
Naming containers makes it easier to manage and reference them later.
-e MONGO_INITDB_ROOT_USERNAME=root
-
The -e flag sets an environment variable inside the container.
-
It sets the MONGO_INITDB_ROOT_USERNAME environment variable to root.
-
This environment variable is used by the MongoDB image to set the root user's username.
-e MONGO_INITDB_ROOT_PASSWORD=password
-
The -e flag sets an environment variable inside the container.
-
It sets the MONGO_INITDB_ROOT_PASSWORD environment variable to password.
-
This environment variable is used by the MongoDB image to set the root user's password.
-p 27017:27017
-
This option maps port 27017 on the host machine to port 27017 on the container.
-
Port 27017 is the default port for MongoDB.
-
The first 27017 is the port on the host, and the second 27017 is the port inside the container.
-
This mapping allows access to MongoDB running inside the container from the host machine.
-d
- This option runs the container in detached mode, which means it runs in the background.
mongo
- This is the name of the image.
Verify Docker images and containers
-
Open Docker Desktop.
-
On the left side of the app, click on Images. Take a screenshot of the mongo and mysql images and save it as images.png.
-
On the left side of the app, click on Containers. Take a screenshot of the mongo and mysql containers and save it as containers.png.
Submission
-
Create a folder named submit.
-
Copy all the screenshots (images.png and containers.png) to the submit folder.
-
Create a zip file of the submit folder.
-
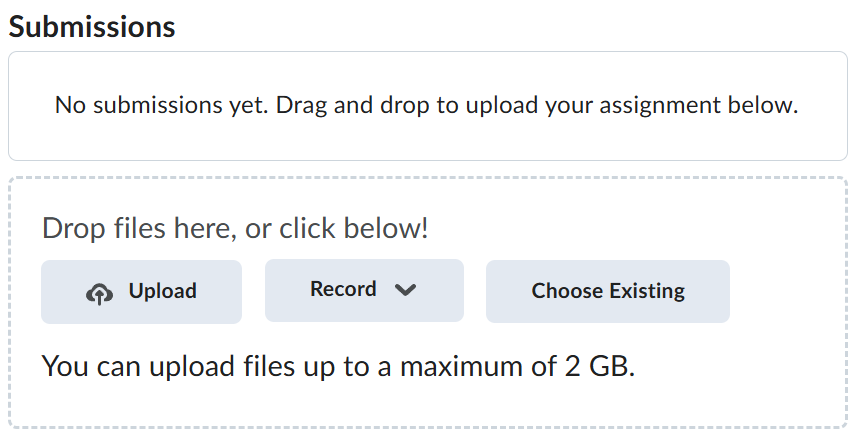
Navigate back to where the lab was originally downloaded, there should be a Submissions section (see below) where the zip file can be uploaded.